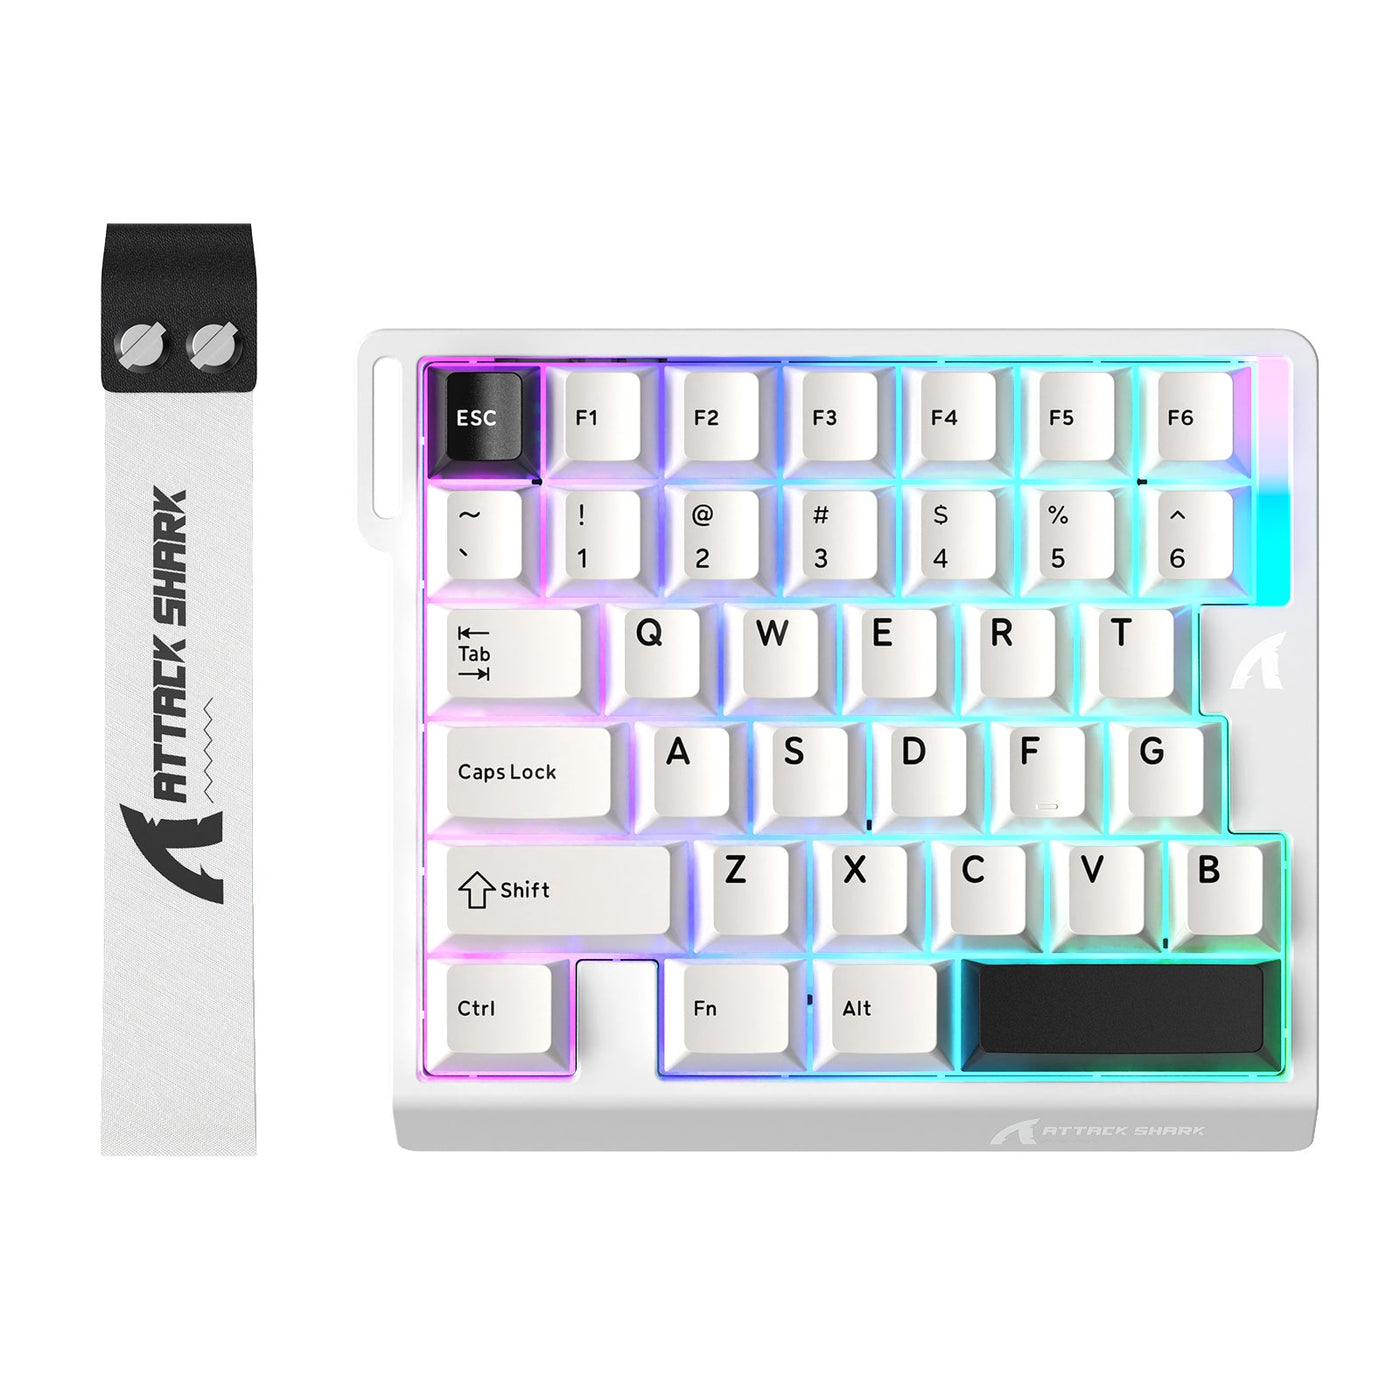
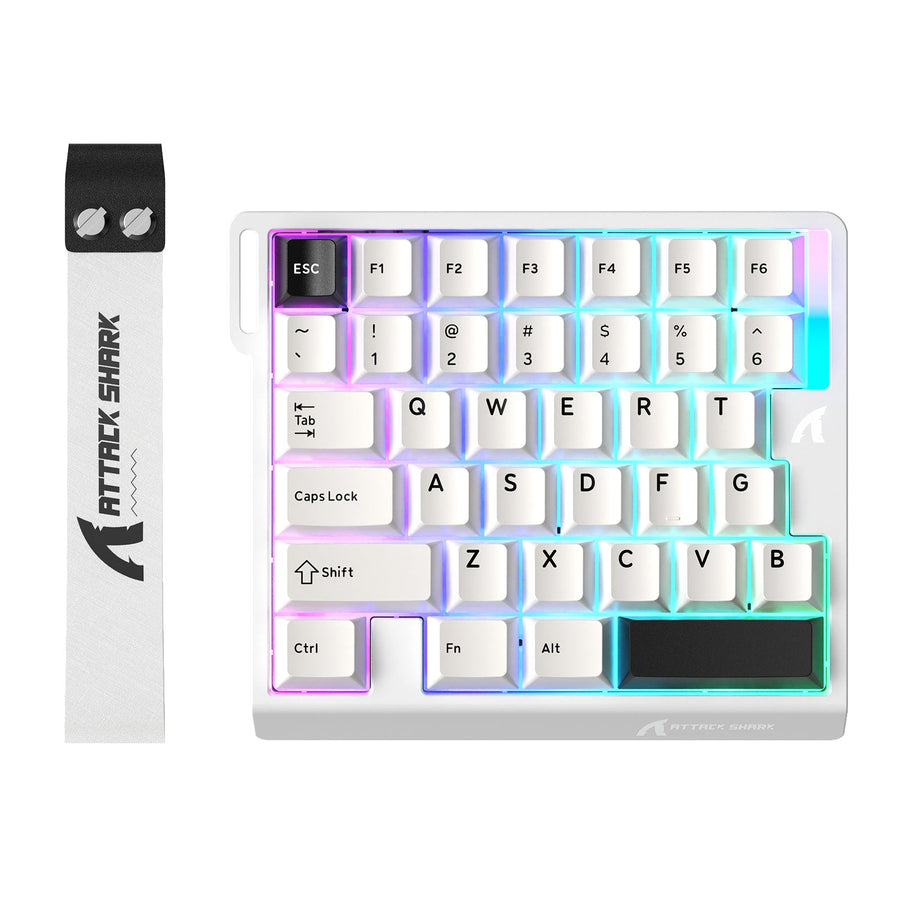
Keep the full keyboard connected while you build a one-handed gaming keyboard setup unless your current game session has complete, tested coverage for every required control. First decide whether the compact board supplements the regular keyboard or replaces it only for that specific task. Then map movement and primary actions, add modifiers and utility controls, put media and desktop shortcuts on a separate supported layer, and test both a game and an everyday PC task before relying on the layout.

Choose a Supplement or Replacement Setup for This Session
The most dependable starting point is supplement mode: use the one-handed board for game controls while keeping the full keyboard available for typing, navigation, missing keys, and everyday shortcuts. A one-handed input device can work alongside a conventional keyboard, as shown in this one-handed input setup example.
Write the target game or session at the top of your setup notes, then list its essential controls. Include movement, primary actions, modifiers, utility commands, and anything you must do without leaving the game. Keep the full keyboard connected if the task still requires text entry, menu navigation, an uncovered key, or a shortcut you have not tested.

Replacement use is more limited. Treat the one-handed board as a replacement only for a defined session after every required function has an owner, the relevant software provides the needed output, and the layout passes both game and everyday-PC testing. This does not show that the board can replace a full keyboard for all PC use.
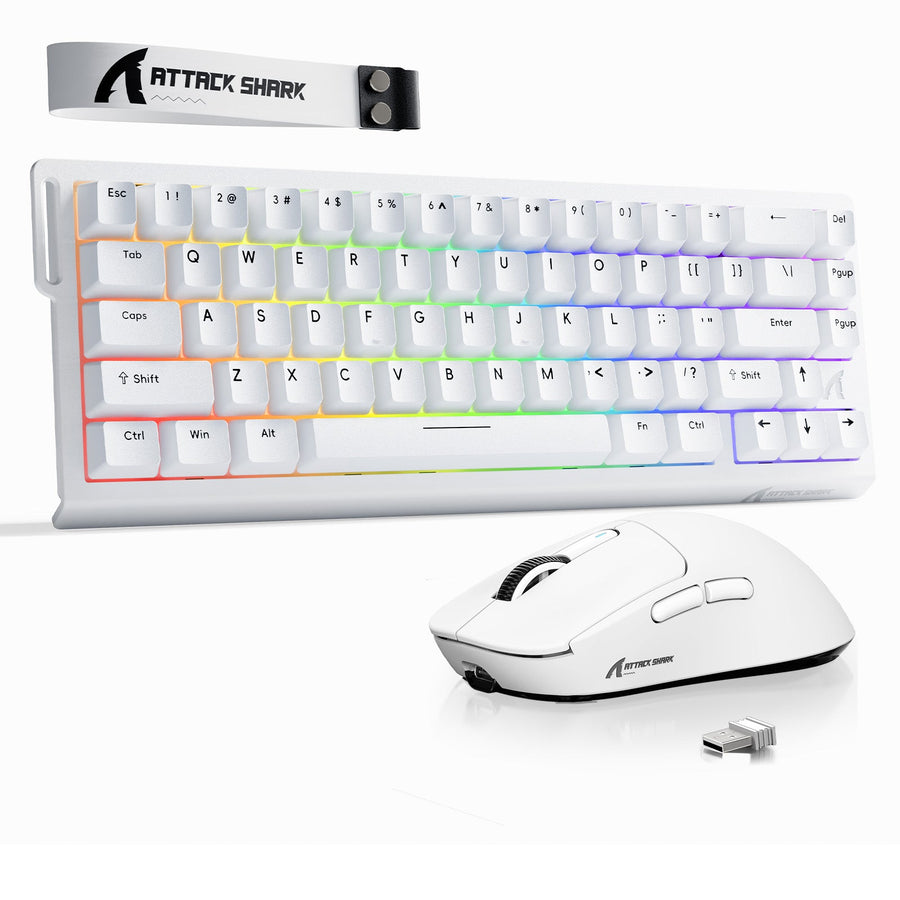
If you are configuring a model such as the ATTACK SHARK M36 HE, its listing identifies a web driver. Start with that model's software and documentation, then confirm the exact layer, profile, and output options before assigning desktop shortcuts. A listed driver alone does not prove support for every mapping you may want.
Map Movement and Game Actions in a One-Handed Gaming Keyboard Setup
Start with one written control map, and assign the highest-frequency game inputs before convenience commands. Copy the target game's current bindings into the worksheet, then record the physical key, output, active layer or profile, original binding, and fallback owner for each changed control. This gives you a clear recovery path if a remap conflicts with another input.
Use the table below as the setup's single worksheet. Replace the examples in the Target action column with your game's controls. When no dependable owner exists, an intentional unassigned state is better than a duplicate or unsupported output.
| Priority | Control group | Target action | Assigned key or layer | Original binding | Fallback owner |
|---|---|---|---|---|---|
| 1 | Movement | Move, strafe, crouch, or other continuous movement | Physical key on the base layer | Current movement key | Full keyboard or game menu |
| 2 | Primary actions | Fire, interact, jump, or the session's essential actions | Physical key on the base layer | Current action key | Full keyboard or mouse |
| 3 | Modifiers | Sprint, aim, alternate action, or hold-to-modify input | Physical key or confirmed modifier | Current modifier binding | Full keyboard or mouse |
| 4 | Utility actions | Reload, inventory, map, communication, or other frequent commands | Base-layer key or tested secondary layer | Current utility binding | Full keyboard, mouse, or game menu |
| 5 | Media | Volume, play/pause, or mute | Confirmed secondary layer, if supported | Existing desktop shortcut | Full keyboard or operating system |
| 6 | Everyday PC shortcuts | Text entry, navigation, copy, paste, or window commands | Confirmed secondary layer or separate device | Existing PC shortcut | Full keyboard or operating system |
Keep movement in a neutral, repeatable hand position before adjusting less frequent commands. Next assign primary actions, then the modifiers and utility controls the game requires. Do not use limited base-layer space for media or desktop shortcuts until the game map works.
For modifier mappings, test the combination rather than just the individual key. A key that produces the expected output on its own may still fail when held with movement or a primary action. Record whether the control is a press, hold, toggle, or layer activator, and use that behavior only when the keyboard or its software clearly supports it.
If a required control has no supported assignment, designate the full keyboard, mouse, game menu, or operating system as its fallback. Do not force two unrelated actions onto one output just to make the worksheet look complete.
Add Layers and Remaps Only When the Keyboard Supports Them
Keep the base layer focused on movement, primary actions, modifiers, and utility controls. Add media or desktop shortcuts only through a secondary layer or remapper whose activation method, scope, and output you have confirmed on the specific keyboard and operating system.
Use this sequence for any secondary function:
- Confirm that the keyboard software or operating-system remapper supports the required layer or remap.
- Define the base layer and preserve the game controls that must work without an extra mode.
- Add one secondary layer or remap for a lower-frequency function, such as mute or media control.
- Check whether activation is a hold, toggle, profile change, or software-only action.
- Test whether the output is global or limited to the game or selected application.
- Keep the full keyboard as the fallback until the output passes in both contexts.
On Windows, PowerToys Keyboard Manager can apply key or shortcut remaps globally or to a selected application, but PowerToys must be running for those mappings to apply. Microsoft also identifies reserved shortcuts, including Win+L and Ctrl+Alt+Del, that cannot be remapped. Do not treat PowerToys as a universal solution for other operating systems, and do not use a reserved shortcut as a fallback.
A secondary layer is useful only when it prevents conflicts instead of moving them elsewhere. If a media key triggers a game action, a desktop shortcut appears during play, or the layer cannot be activated consistently, remove that assignment or return it to the full keyboard. If the software cannot provide a clear, tested layer or remap, leave text entry, navigation, media, and desktop shortcuts on the full keyboard.
Test the Game Map and Restore Everyday PC Control
Before relying on the layout in a live match or regular PC session, run two separate tests: the target game and one everyday PC task. A saved profile does not prove that the controls work in every context. If either test fails, treat the one-handed board as a supplement and keep the full keyboard responsible for the affected task.
In the target game, test movement first, followed by simultaneous modifiers, primary actions, utility commands, layer or profile activation, and any controls assigned to the mouse or full-keyboard fallback. Watch for duplicate outputs, missed holds, and actions that work only after the software is restarted.
Next, deactivate the game profile when the keyboard supports profiles and perform one everyday task, such as navigating a browser, entering text, or using a media shortcut. Confirm that game bindings do not trigger accidental desktop commands and that any remapper still has the expected scope. A browser keyboard test can show whether input is detected, but it cannot prove that a game or the operating system will interpret every binding correctly.
Fix failures in this order:
- Restore essential movement and game actions.
- Remove accidental desktop shortcuts and duplicate outputs.
- Correct profile, layer, activation, or remapper-scope problems.
- Add convenience commands only after the core map remains stable.
- Repeat the game test and the everyday PC task after each meaningful change.
If the two-context test still fails, keep the full keyboard as the owner of the affected task and use the one-handed board only for controls that passed. Complete the worksheet, test one game and one everyday PC task, and keep the full keyboard within immediate reach until both contexts work reliably.
Frequently Asked Questions
These answers distinguish a one-handed gaming keyboard setup from fully replacing a regular keyboard and focus on the first practical decisions.
How do you use a one-handed keyboard for PC gaming?
Connect it alongside the full keyboard, identify the target game's required controls, and map movement before actions, modifiers, and utility commands. Add media or desktop functions only after the game map works, then test the layout in the game and in one everyday PC task.
Can a one-handed keyboard replace a normal keyboard?
It can replace the full keyboard for a defined game session when every required control is available, mapped, and tested. Keep the regular keyboard connected for typing, navigation, uncovered keys, and any shortcut that has not passed the two-context test.
What keys should I map first on a one-handed gaming keyboard?
Map movement first, followed by primary actions, modifiers, and utility commands. Add media and everyday shortcuts only to spare coverage or a confirmed secondary layer, and give every function a documented fallback owner.
How do I stop a one-handed keyboard remap from causing desktop shortcuts?
Narrow or remove the remap, check the active profile or layer, and test its application scope. If it still affects desktop use or produces duplicate output, return that function to the full keyboard until it passes both the game and everyday-PC tests.